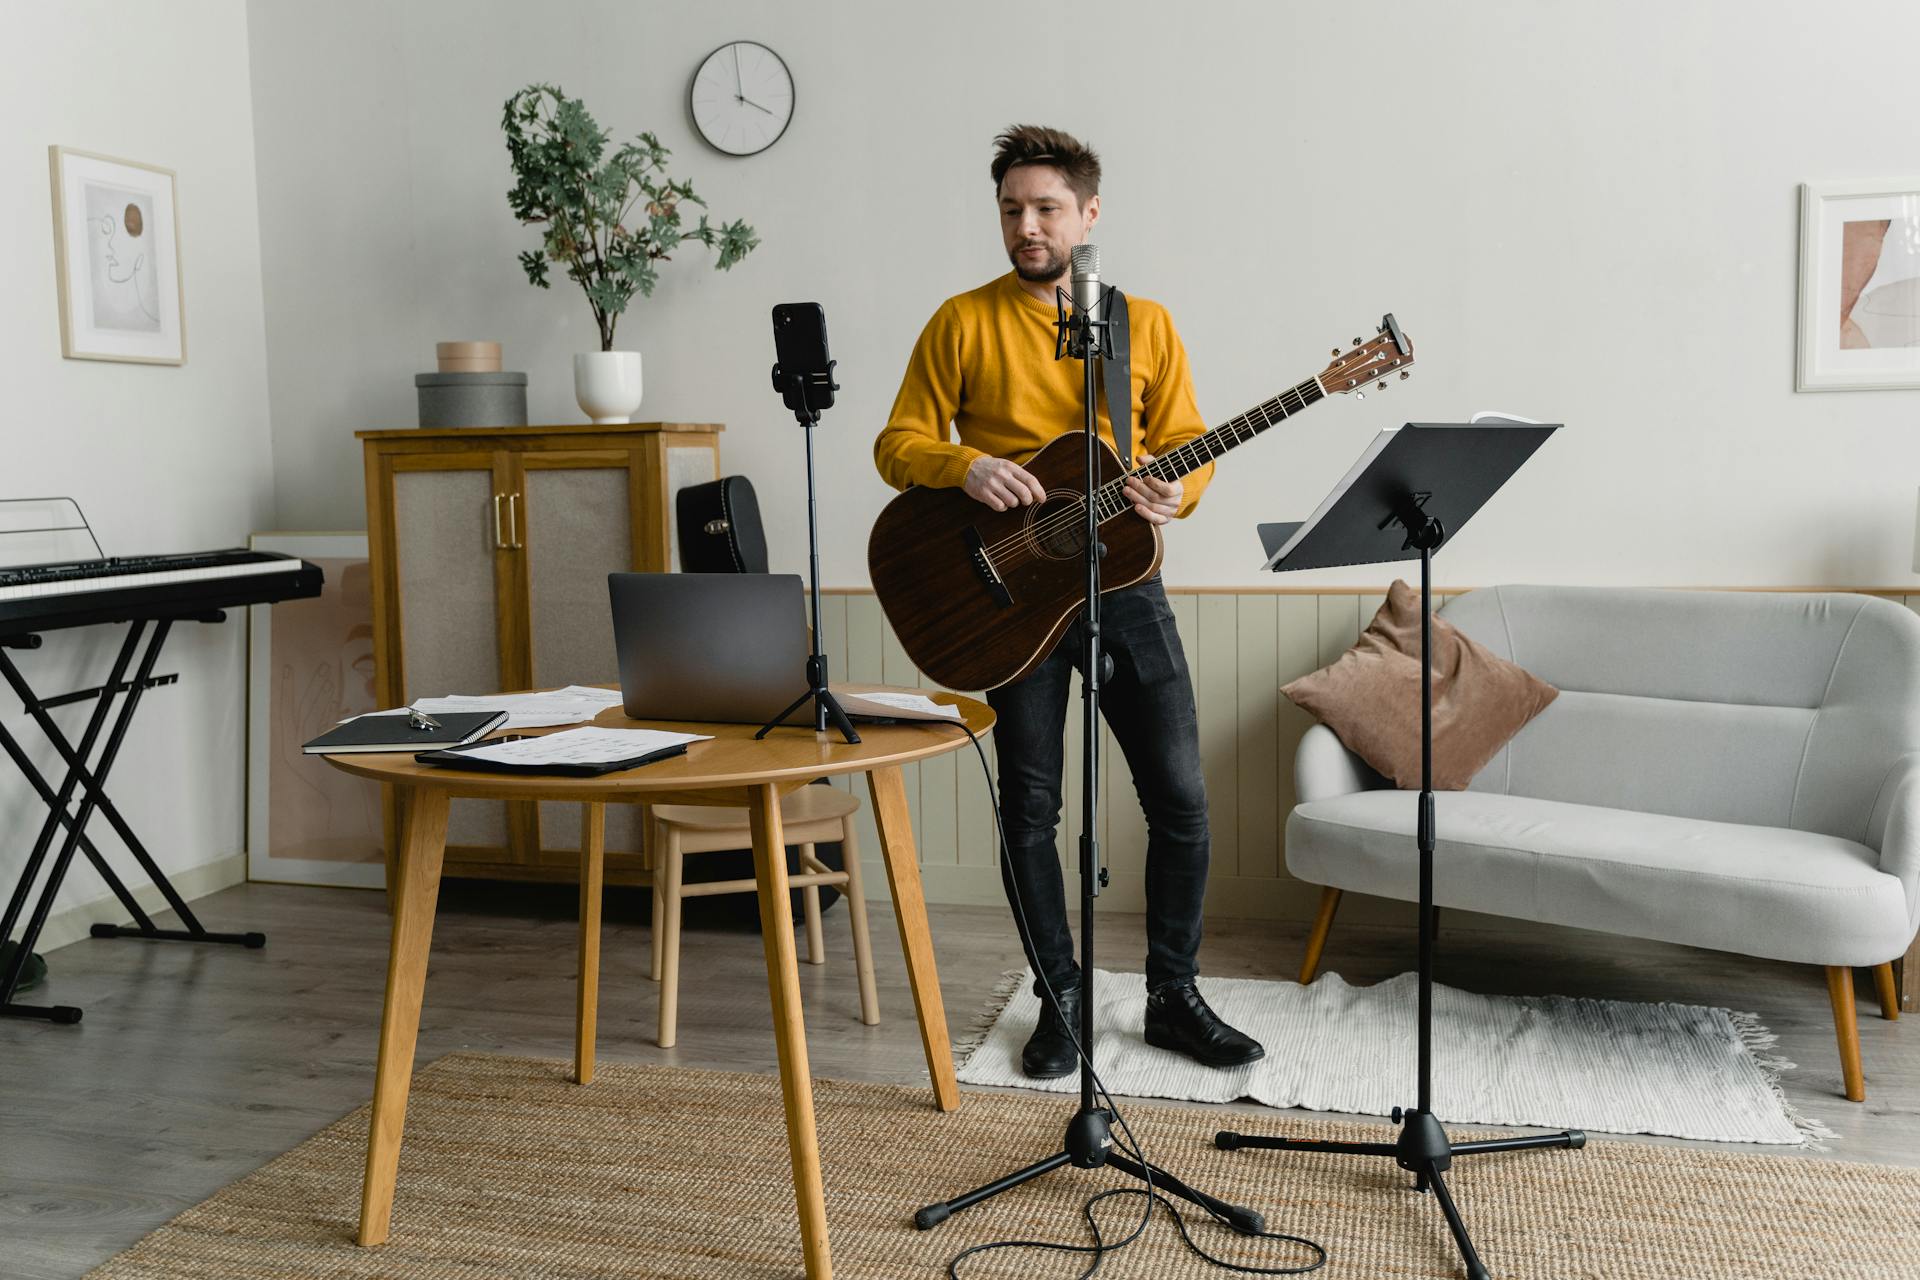
How to build a podcasting studio at home

Building a podcast studio is one of the most exciting steps in a podcaster's journey. Whether you're aiming to create a professional setup for your show or just need a dedicated space at home, the right studio setup can make all the difference in delivering high-quality audio content. This guide will walk you through the essential equipment, setup tips, and acoustic considerations to help you build your perfect podcast studio. Whether you're a beginner or looking to upgrade your current space, this guide will also provide insights for those who want to create a home studio.
1. Choose Your Space Wisely
Selecting the right space for your podcast studio is crucial. The ideal room should be quiet and free from external noise interruptions. If you're setting up at home, consider using a spare bedroom, closet, or basement. These areas often provide better insulation from household noise.
Pay attention to the room's acoustics. A large room with hard surfaces can cause echo or unwanted sound reflections, which can negatively impact your audio quality. To avoid this, opt for smaller rooms and soften the sound by adding carpets, curtains, or foam panels to the walls. This helps in minimizing echo and creating a more controlled sound environment. Castos provides excellent suggestions for improving your room's acoustics.
2. Essential Podcasting Equipment
The next step in building your podcast studio is gathering the essential equipment. Here's what you will need:
Microphone: The microphone is one of the most important pieces of your setup. There are two main types to choose from:
- Dynamic microphones: These are known for their durability and ability to handle high volumes without distortion. They're great for recording in environments where there may be background noise.
- Condenser microphones: These offer superior audio quality and capture more detail, but they’re also more sensitive to background noise. If you're in a quiet room, condenser mics like the Shure SM7B are an excellent option.
Audio Interface or Mixer: If you're using XLR microphones, you'll need an audio interface or mixer to connect your mics to your computer. Audio interfaces convert analog signals from the microphones into digital formats that your computer can process. Mixers, on the other hand, allow you to adjust levels and add effects directly.
Headphones: A good pair of closed-back headphones is essential for monitoring your sound in real-time and avoiding audio bleed, where the sound from your headphones is picked up by the microphone.
Pop Filter and Mic Stand: A pop filter reduces plosive sounds (like harsh “P” or “B” sounds), while a mic stand will help you position your microphone properly for comfort and optimal sound quality.
Recording Software: Your choice of software (also called a Digital Audio Workstation or DAW) is another key decision. Popular choices include Audacity, GarageBand (for Mac users), and Adobe Audition for more advanced users. Choose a software solution that fits your workflow and skill level.
3. Soundproofing and Acoustic Treatment
Once you've selected a space and gathered your equipment, the next step is soundproofing and acoustic treatment. These two concepts are often confused, but they are quite different:
- Soundproofing: This involves preventing external sounds from entering your recording space. While full-scale soundproofing (like adding soundproof walls) can be costly, you can achieve a significant reduction in noise by using heavy curtains, weather stripping on doors, and even placing foam panels on walls.
- Acoustic Treatment: This focuses on improving the sound quality inside the room. Adding bass traps in corners, placing sound-absorbing panels strategically on the walls, and diffusing sound with bookshelf units can make a huge difference in reducing echo and reverberation. iZotope provides in-depth advice on how to treat your room acoustically.
4. Setup and Workflow
With the space treated and equipment ready, it's time to set up your workflow. Ensure your microphone is positioned correctly (typically 6-12 inches from your mouth) and at a slight angle to avoid breathing directly into it. Place your pop filter between the microphone and yourself for clean, plosive-free audio.
Monitor your audio levels through your headphones to avoid clipping, which occurs when your input signal is too loud and results in distortion. An audio interface or mixer can help you adjust these levels as you record.
Make sure your DAW is configured to record at a standard sample rate (44.1 kHz or 48 kHz) and bit depth (16-bit or 24-bit) to ensure high-quality recordings.
Finally, establish a smooth recording workflow by organizing your space efficiently. Have all your equipment within arm’s reach and minimize distractions by eliminating unnecessary gear or clutter from your desk.
5. Recording Tips and Best Practices
Here are a few best practices to keep in mind during your recording sessions:
- Always test your audio before you begin recording a full episode. A quick test will help you identify any potential issues with your mic or room noise.
- Record in short segments, especially if you’re prone to mistakes. This makes editing easier since you’ll have multiple takes to choose from.
- Maintain a consistent distance from the microphone to ensure that your voice sounds even throughout the recording.
Conclusion
Building a podcast studio is an investment in your show’s success. Whether you’re setting up at home or in a professional space, focusing on acoustics, selecting quality equipment, and developing an efficient workflow are the keys to delivering great sound. Following these steps will ensure that your podcast sounds polished and professional.
For more detailed advice on setting up your podcast studio, check out additional resources from Riverside, Castos, and iZotope.